Lesson 5 Lab Notes
In this lab we will do the following:
- Install and configure OpenVAS
- Run a vulnerability scan in OpenVAS
- Install and configure Nessus
- Run Authenicated Nessus Scan against the Metasploitable VM using the credentials we cracked in the previous lesson
- Import the Nessus and OpenVas reports into Metasploit
What is OpenVAS?
OpenVAS stands for Open Vulnerability Assessment System and is an open source vulnerability scanner created by Greenbone. It's not included in Kali because of it's large footprint but it is considered to be the "free" version of Nessus.
What is Nessus?
Tenable Network Security provides enterprise-class solutions for continuous monitoring and visibility of vulnerabilities, configurations, user activity and system events that impact security and compliance.
Nessus features high-speed discovery, configuration auditing, asset profiling, sensitive data discovery and vulnerability analysis of your security posture.
CVE Information: N/A
Module Information: N/A
Instructions:
There won't be a video for this lesson because there is going to be a lot of progress bars! Way too boring to watch, enjoy the screen shots instead.
First, do an apt-get update and upgrade to make sure you are on the latest version of Kali (2017) then install OpenVAS
apt-get update && apt-get upgrade -y
apt-get dist-upgrade -y
apt autoremove
reboot
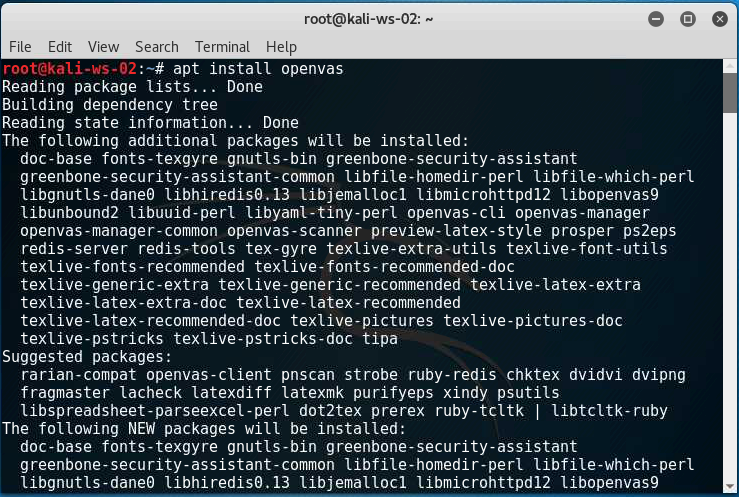
apt install openvas
This will time several minutes to complete but once it is done go to -

Applications > Vulnerability Analysis > OpenVAS Scanner > openvas initial setup
This will launch a script that will automatically configure your OpenVAS program and it take several minutes to complete. Once it is done copy and save the password that automatically gets generated.

Go to -
Applications > Vulnerability Analysis > OpenVAS Scanner > openvas feed update
Applications > Vulnerability Analysis > OpenVas Scanner > openvas start services
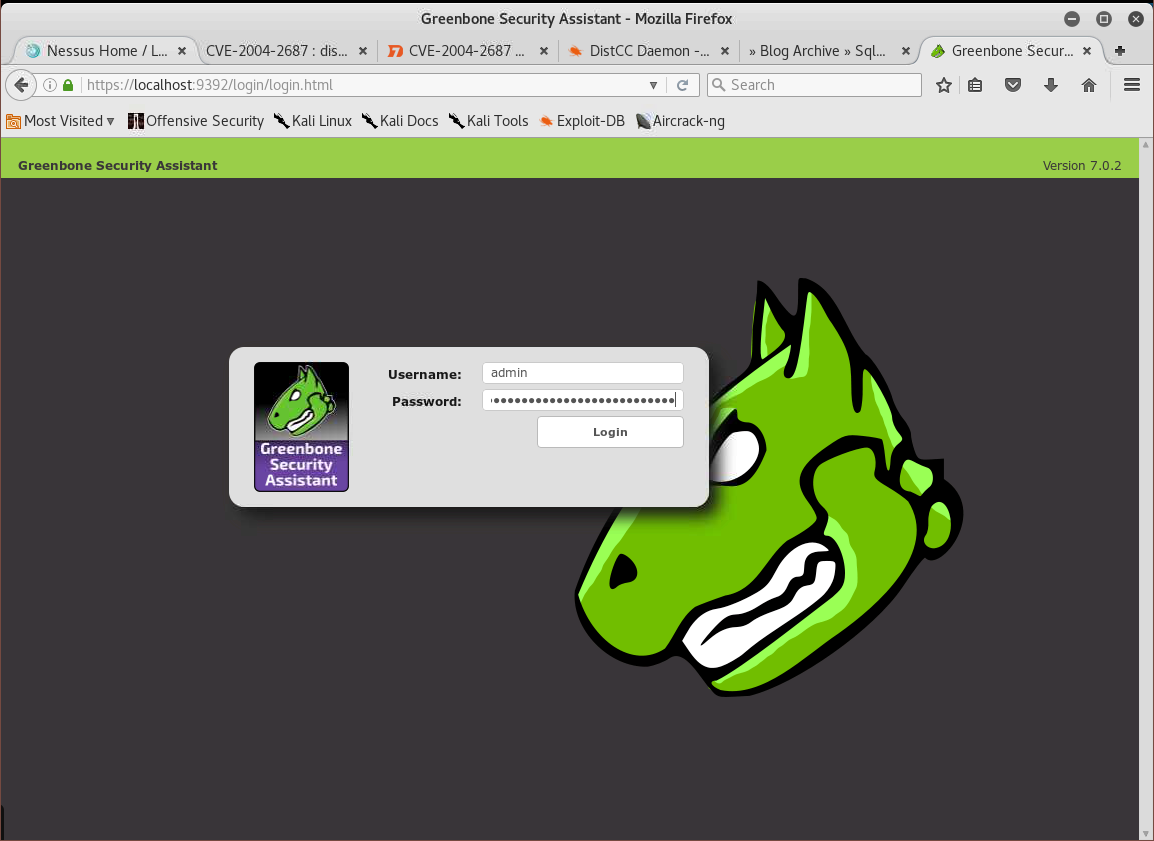
Click on the Firefox icon and type in
https://localhost:9392
User name: admin
password: 65eba7fb-b2e8-40d6-9401-ad6e6c5fd6da (Use the password that got automatically generated)
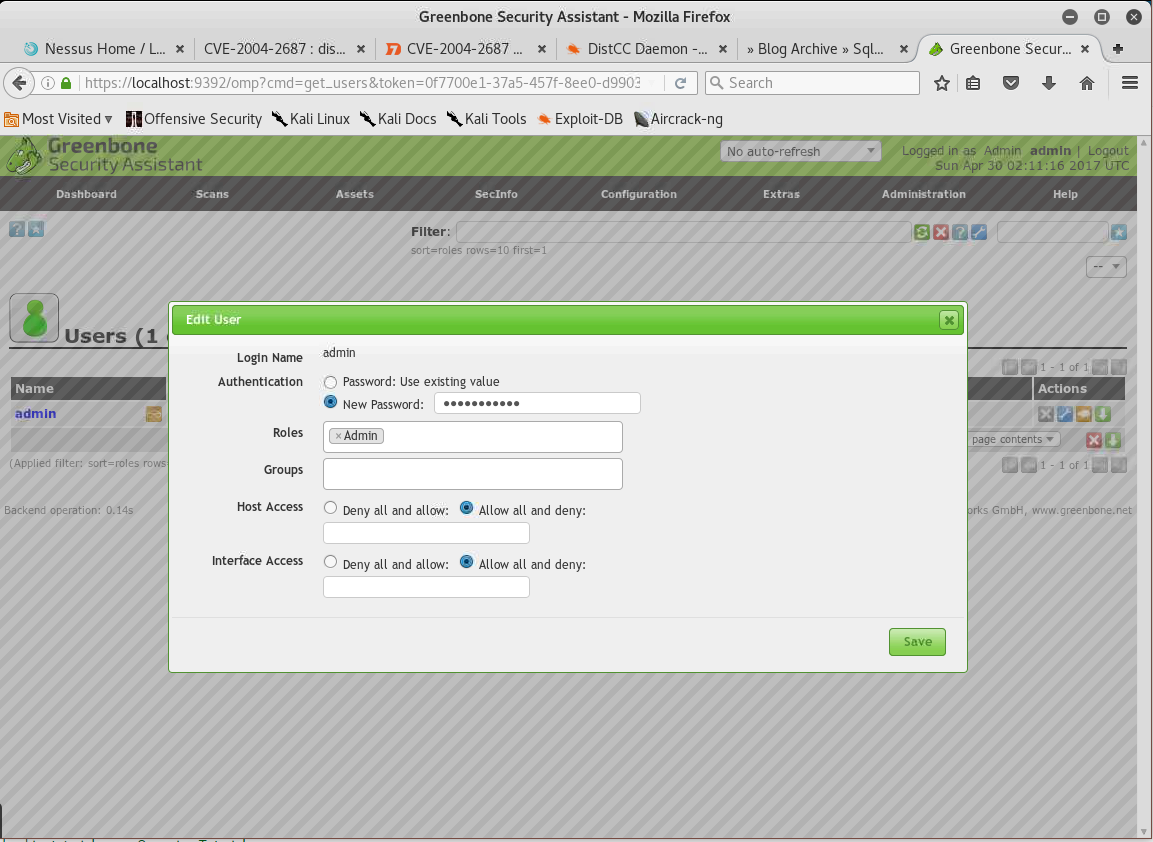
Once you are logged in you can go to the 'Administration > Users' tab to change the password to one that you can remember.
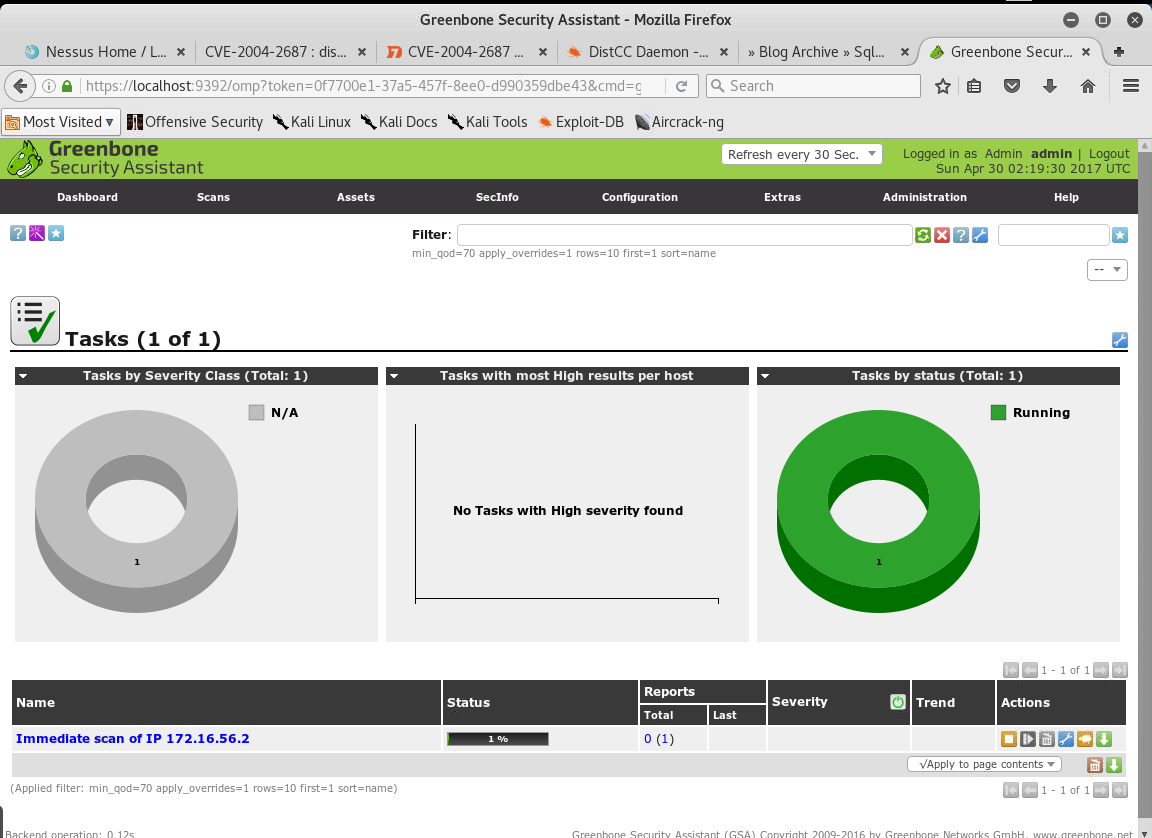
To start a vulnerability scan go to the Scans > Tasks and click on the purple icon at the top left of the page then type in the IP address to start the scan.
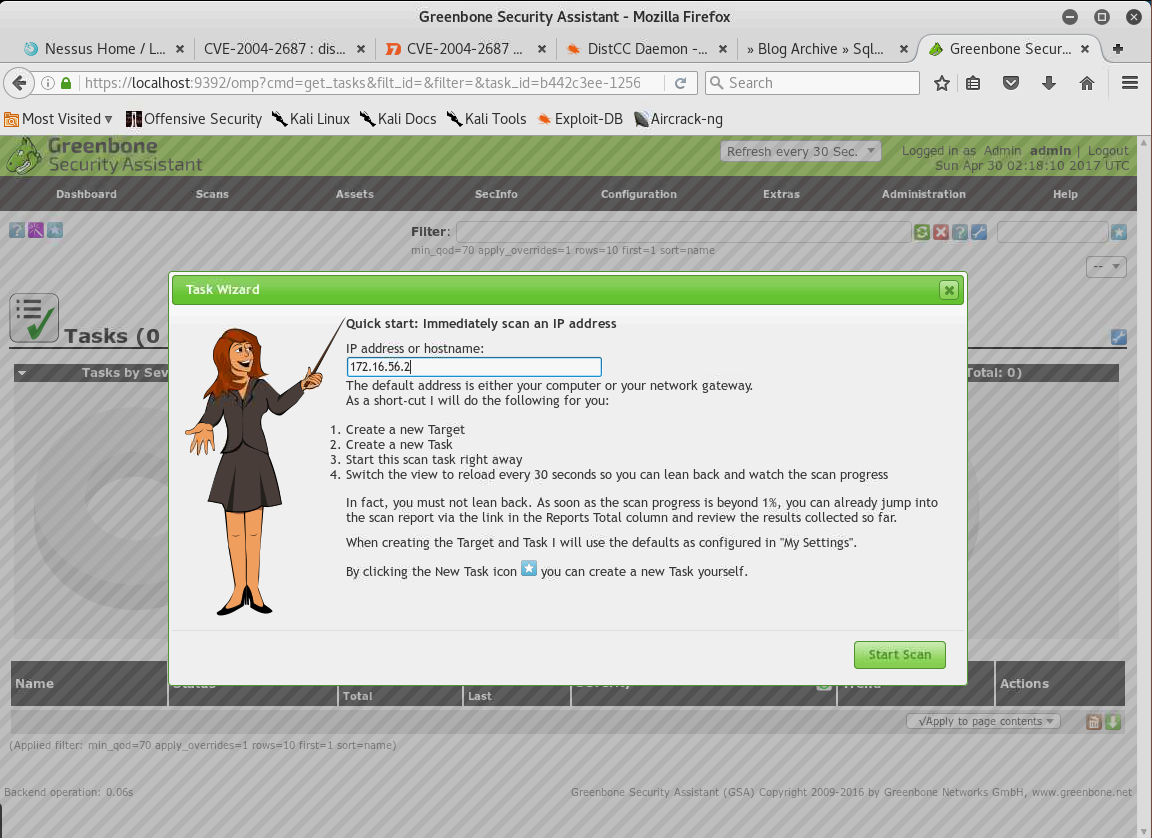
This scan will also take several minutes to complete but you can start seeing results as soon as it shows 1% completed!
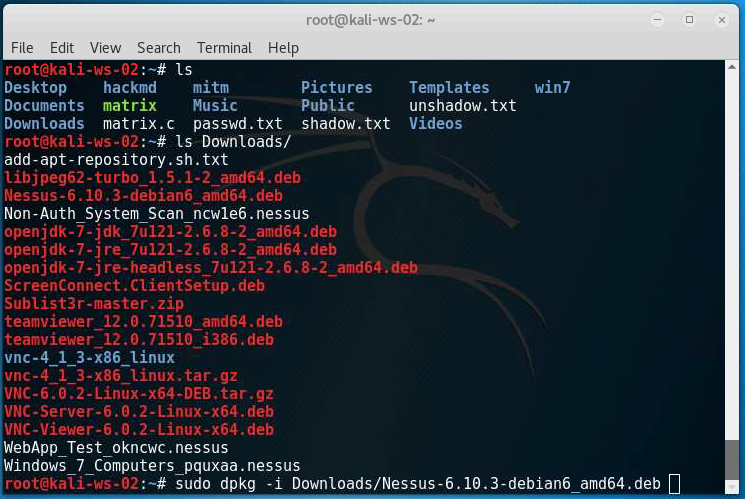
While this scan is running we can download and install Nessus.
Open terminal and type in
ls Downloads/
You should see a file called Nessus6.10.3-debian6_amd64.deb, to install it type in the following -
dpkg -i Downloads/Nessus6.10.3-debian6_amd64.deb
Once the installation completes, start the Nessus service -
/etc/init.d/nessusd start
If you would like Nessus to start when Kali Linux boots, issue the command -
update-rc.d nessusd enable
After the Nessus service starts, click on the Firefox icon and type -
https://localhost:8834/
You'll have to register for a free Nessus Home account in order to continue, go here:
https://www.tenable.com/products/nessus/nessus-plugins/obtain-an-activation-code
Once you have a registered account we perform an authenticated scan using Nessus.
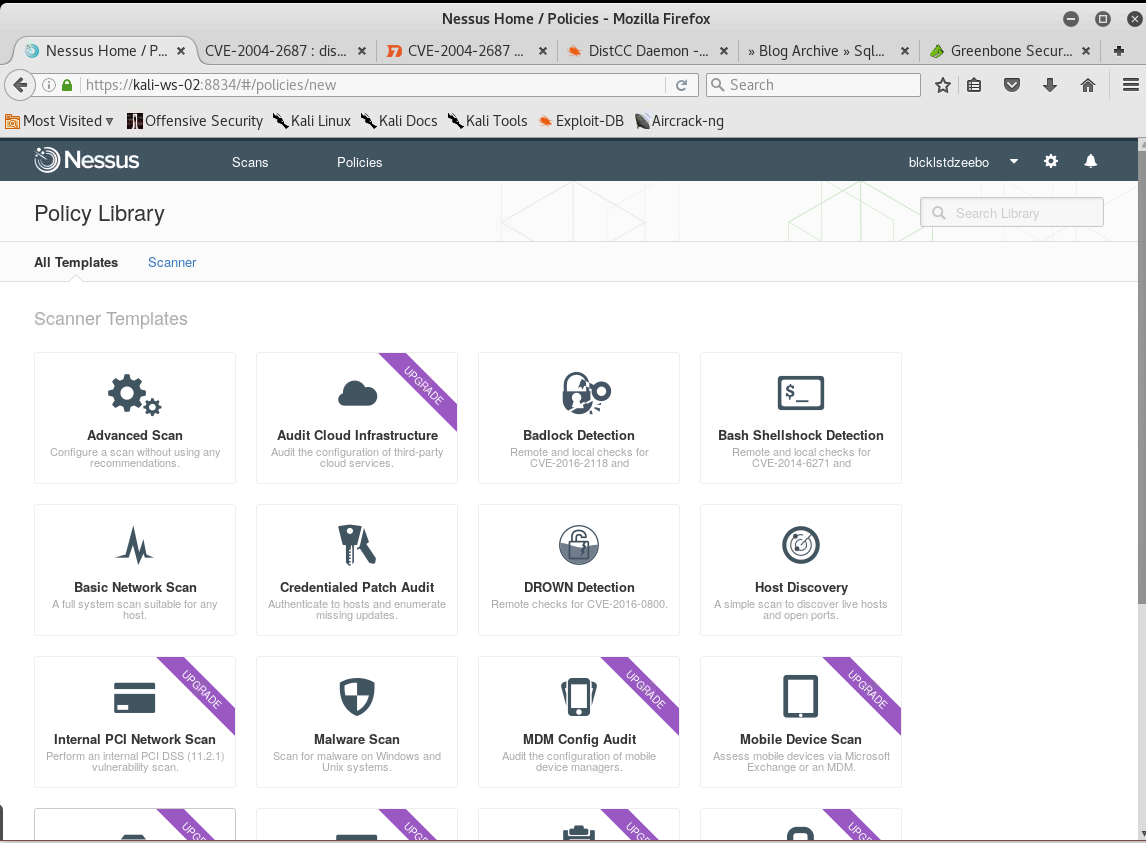
Policies > New Policy
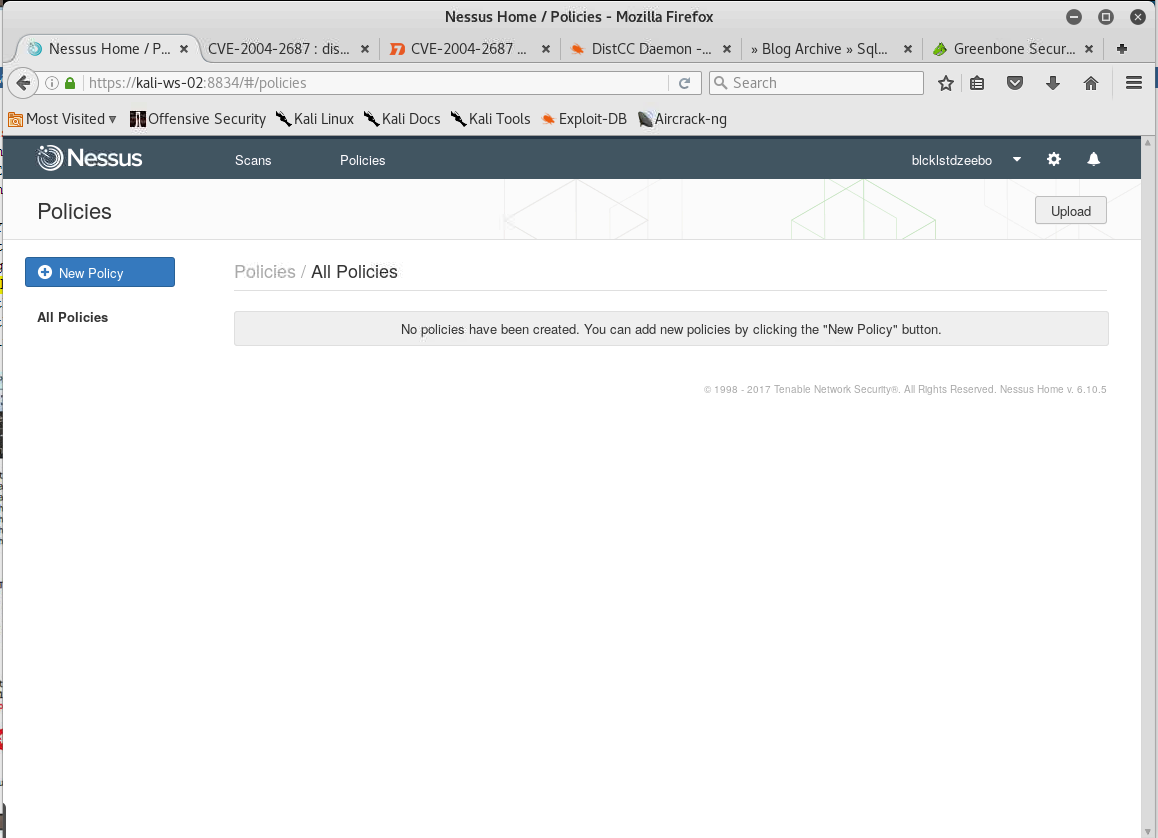
Under the Policy Library select 'Basic Network Scan'
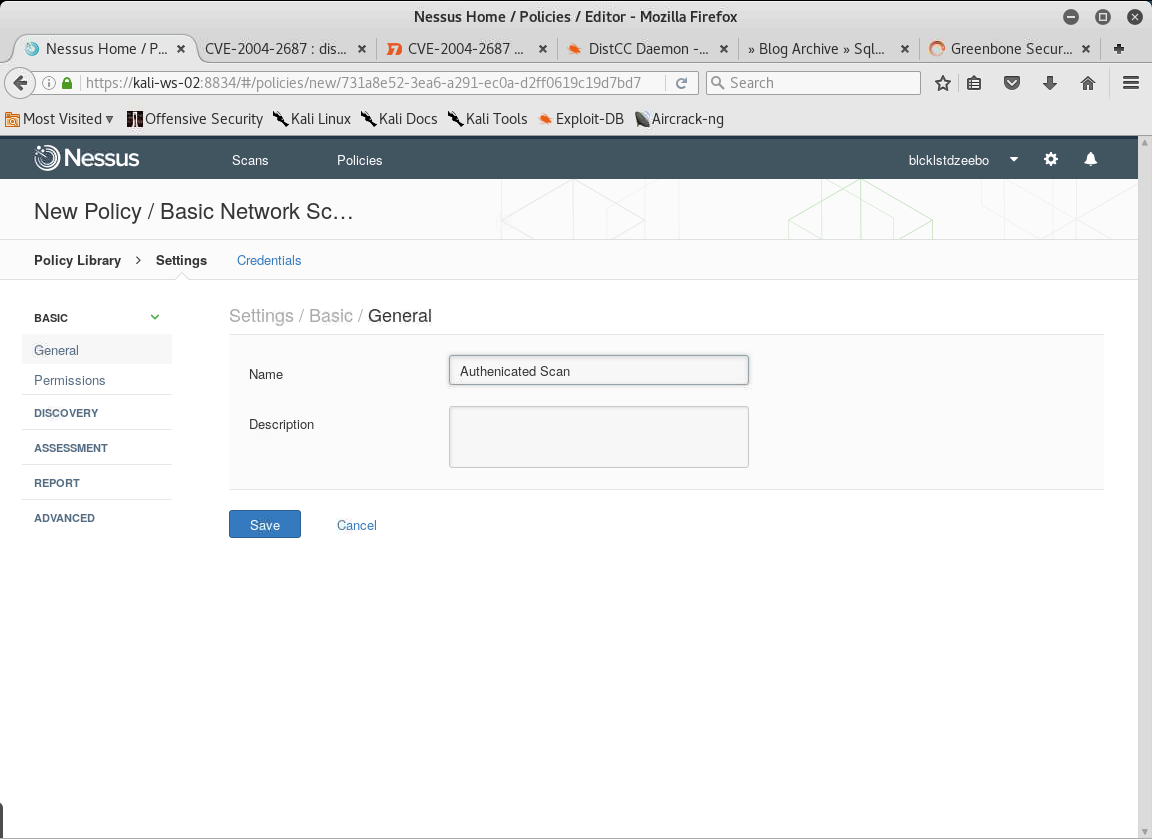
You can name the scan 'Authenticated Scan' like I did and then click on the 'Credentials' link.
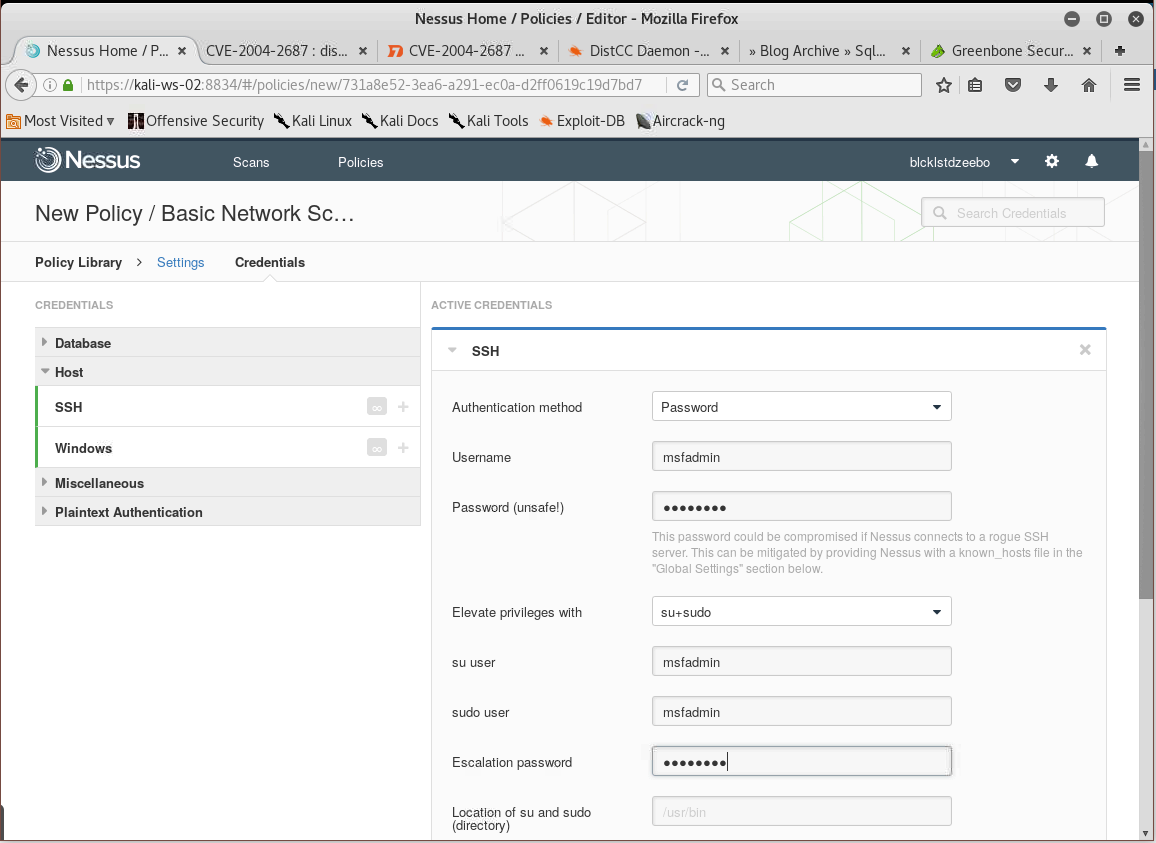
At the credentials page, select 'SSH' and select the following -
Authentication method: Password
Username: msfadmin
Password: msfadmin
Elevate privileges with: su+sudo
su user: msfadmin
sudo user: msfadmin
Escalation password: msfadmn
 Save the policy settings, click on the Scans button at the top of the page, select 'New Scan' and scroll down to the User Created Policies and select 'Authenticated Scan'.
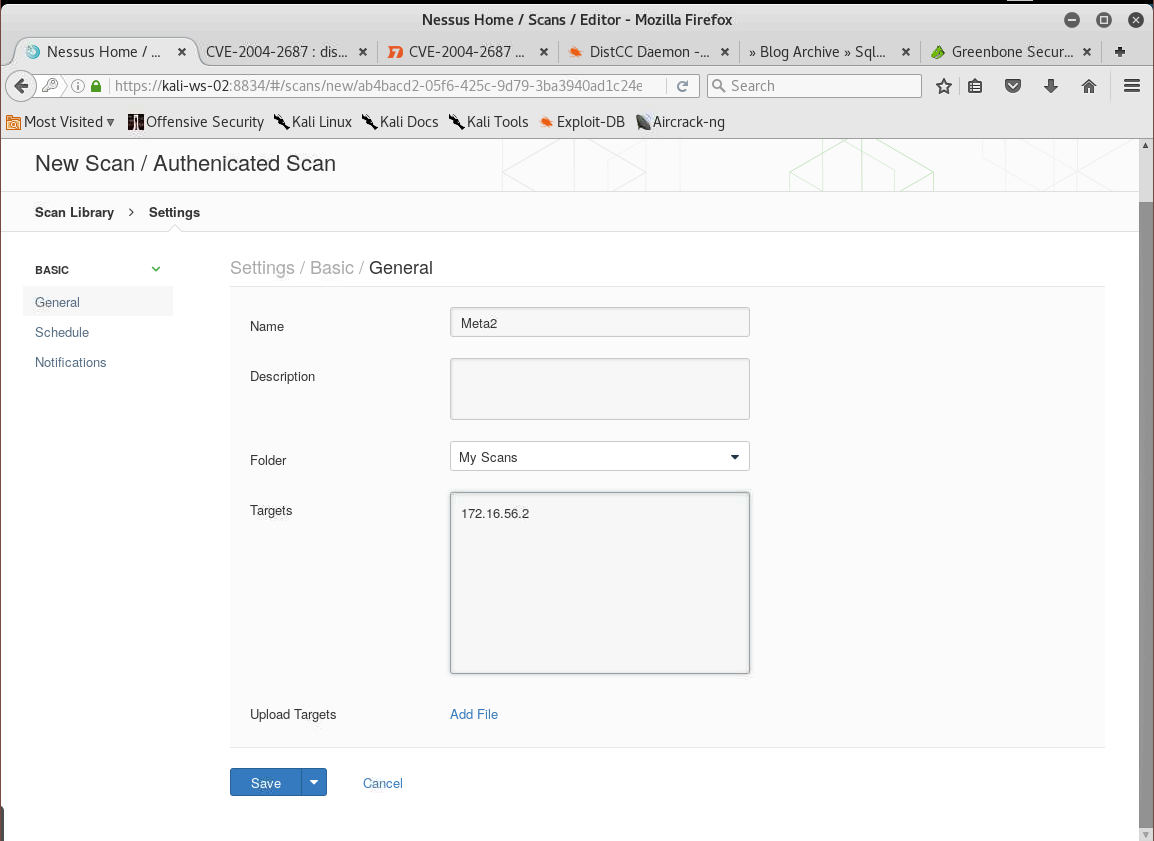
Give you scan a basic Name and type in the ip address of the Metasploitable 2 VM under the Targets field and click on the Save button.
Click on the Play/Launch button, sit back and relax!
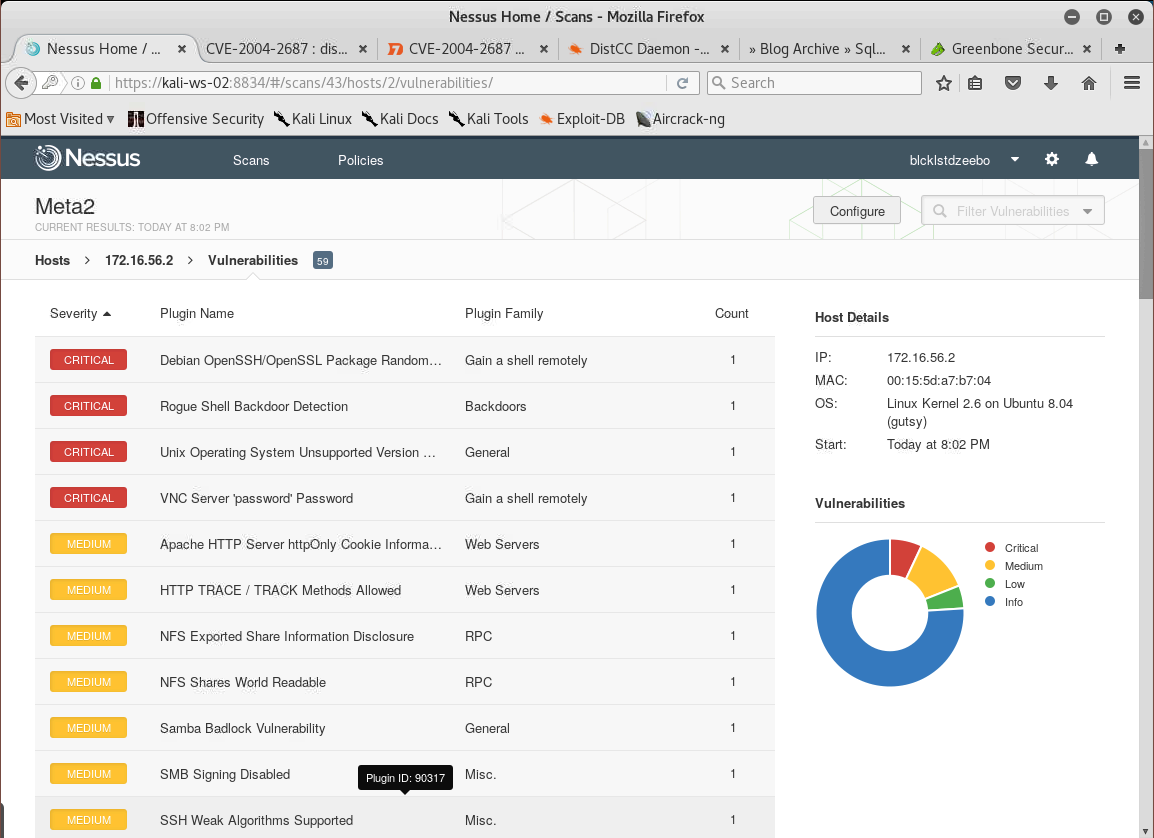
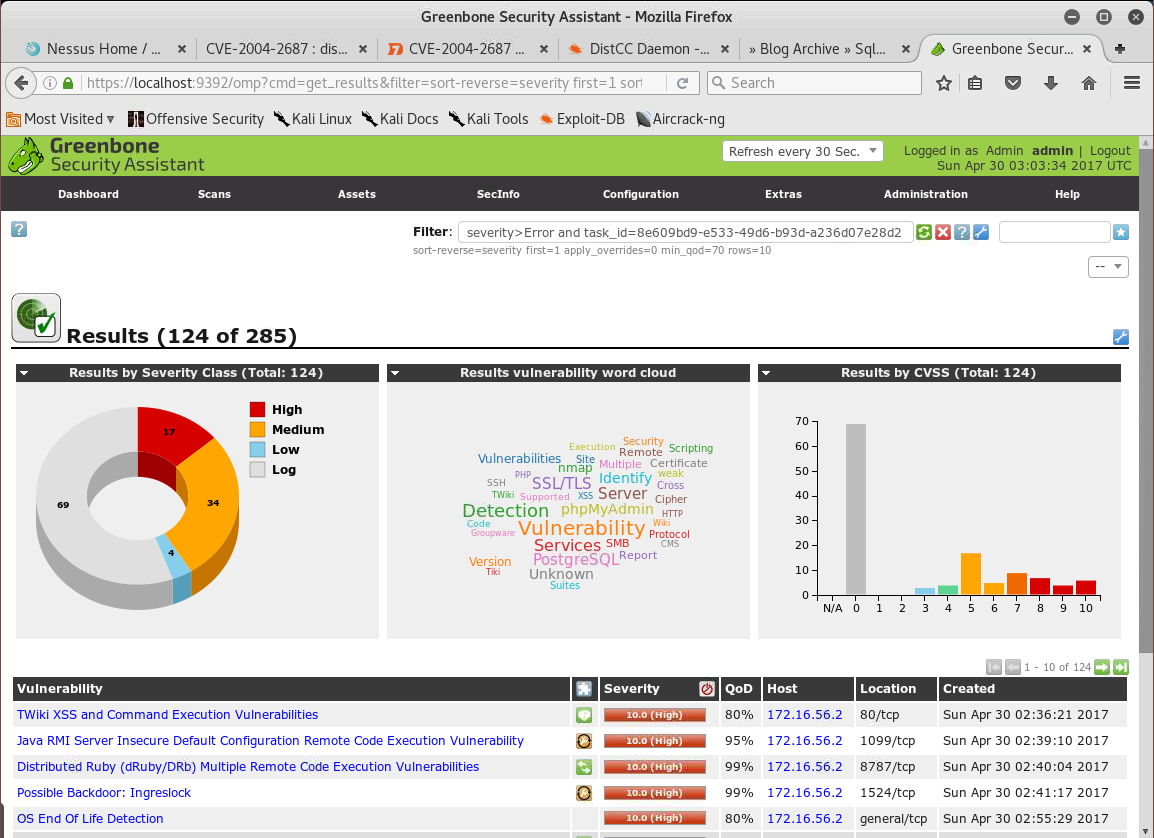
 While the Nessus scan is running you can check back in with the OpenVas scan to see what it picked up. Look at all those vulnerabilities just waiting to be exploited! :)
Just like in OpenVas, you can check see what Nessus picked up while the scan is ongoing.